
Francisco Javier Cruces Doval
Wednesday, November 29, 2023 | 3 minutes
Creation of an automated installation system
Automatic installation of an iso
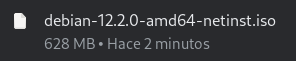
On the official debian page we will download a debian image, in my case I have selected a netinstall:
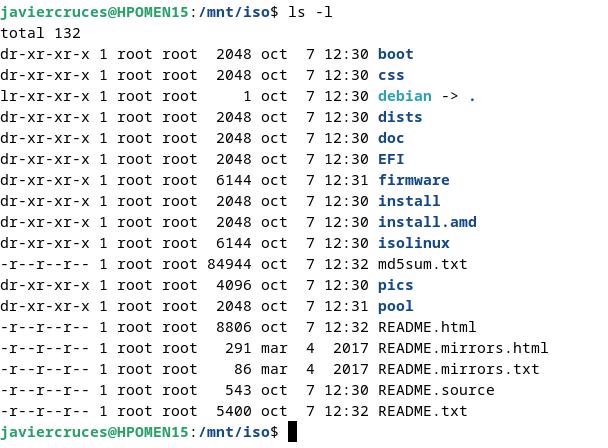
Once you download the debian image, we will copy its content into a folder to then make some modifications. To do this we will mount the iso as a loop device:

Once mounted we can see its content:
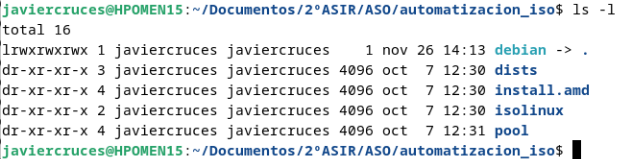
We’re going to make a copy of the files we’re going to use to a directory of ours to make changes to them, once we do this we can dismount the image:

Once the files are copied we will move to the directory to create the file preseed:
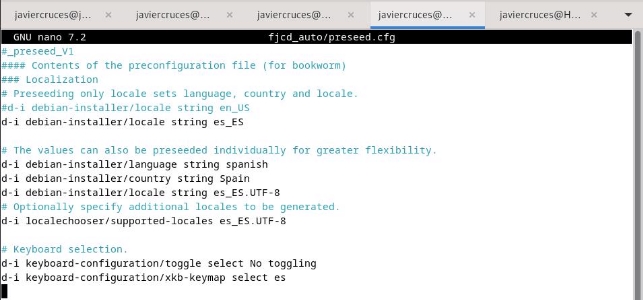
Within the same we will copy the bookwork template file provided by debian, you can find it on its official page → https: / / www.debian.org / releases / bookwork / example-presed.txt. I will put this file into the fjcd\ _ car folder.
We will edit the template and select the different options:
Once the presede.cfg file is configured, we give permission to the install.amd directory and uncompress the initrd.gz:

We add the lines of our preseed file to the initrd:

We recompress the initrd file and remove the permissions given to the parent directory previously:

Now we will add an input to this file so that when we start the iso we would have an input that will automatically perform the installation with our presed.cfg file:
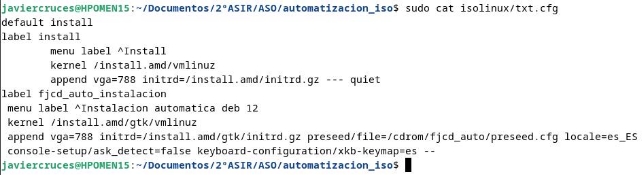
Finally, the hash is removed from the different iso files and added to the md5sum.txt file:

With this we have only to generate the iso:

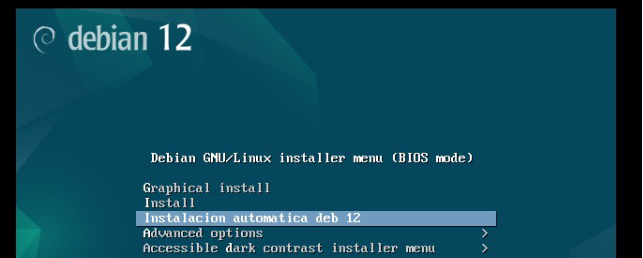
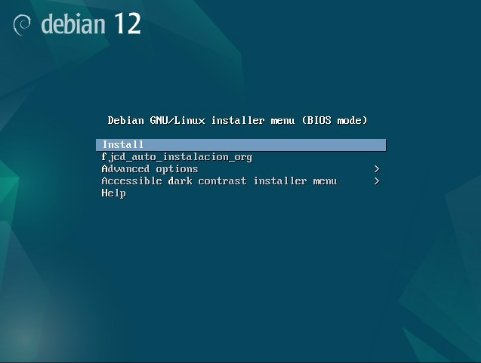
If we start with the iso, we will see the entry we have created:
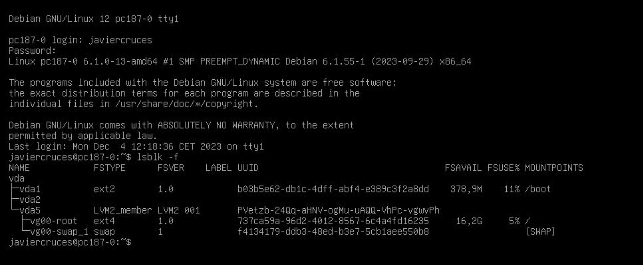
Outcome:
PXE server
Now we’re going to prepare the PXE server to make a network installation, to set up SNAT on it so that customers have the Internet:

For the change to be permanent I have installed and configured iptables-persistent, also remember to activate the bit of the forweding
Now we install we will install dnsmasq:

And we’ll set up the service:

We restart the service to apply the configuration:

Now in the root directory of our tftp we will download the netboot of our debian version:

Now let’s decompress the following content:

Once the file is uncompressed, we will create symbolic links to the following files:

Now we have to set up the web server to pass the file presed.cfg, I have put it in the document root of the virtual host by default:

Finally we have left to configure the entry of the iso menu that we have downloaded, we indicate that the file presed.cfg is in the following url:

Now we can start the machine by pxe:
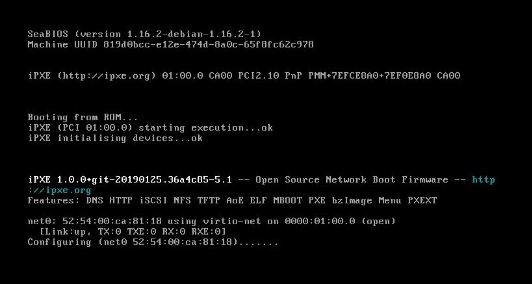
And if we click on the custom input we just created, it will automatically be installed from the presed.cfg file:
Outcome: