Francisco Javier Cruces Doval
Thursday, March 14, 2024 | 3 minutes
Practice CI/CD with Jenkins
The objective of this practice is the gradual development of a Pipeline that will perform tasks on the repository of an application.
The application we’re going to work with will be your fork of the Django Polls application. As we have seen, this application that implements the Django tutorial has a test module.
We will build the Pipeline in several phases:
Exercise 1: Construction of a Docker image
We start from the pipeline that we have developed in the Workshop 3: Continuous integration of Django application (Test), where we have automated the application test.
Modify the pipeline so that after doing the application test, it generates a Docker image. You have to keep in mind that the steps to generate the image must be performed on the machine where Jenkins is installed. You will have to add the following actions:
- Build the image with the
Dockerfileyou have in the repository. - Push the image to your Docker Hub account.
- Delete the created image.
Therefore, you have to study the section Execution of a pipeline in multiple runners to run the pipeline in two runners:
- In the Docker container from the image
python:3, the steps from Workshop 3. - In Jenkins’ machine, the steps from this exercise.
Other considerations:
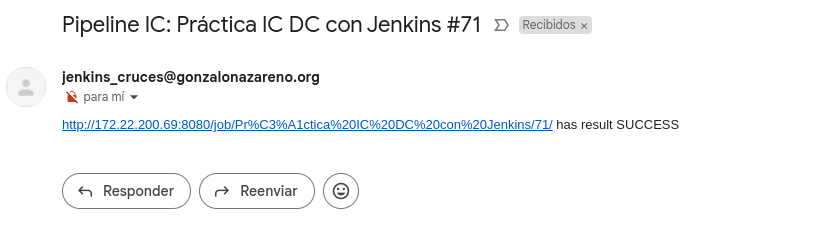
- When the pipeline finishes running, you will receive a notification email.
- The pipeline will be saved in a
Jenkinsfilefile in your repository, and the pipeline configuration will refer to it.
Delivery
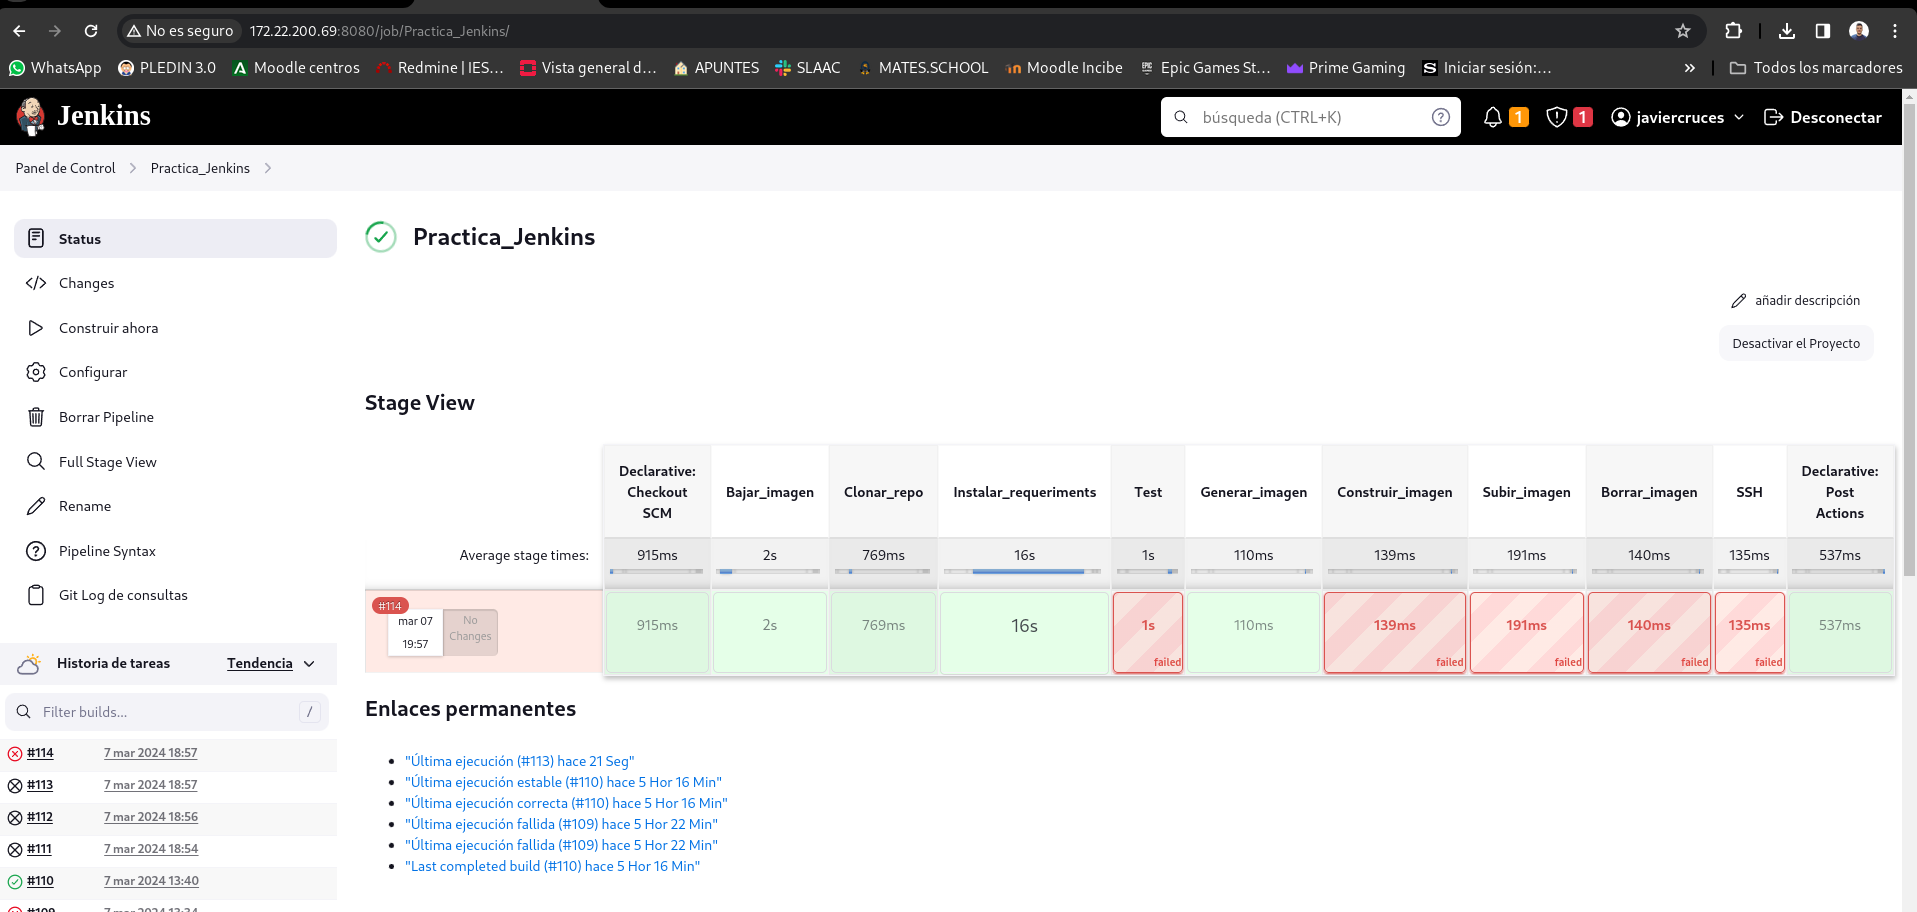
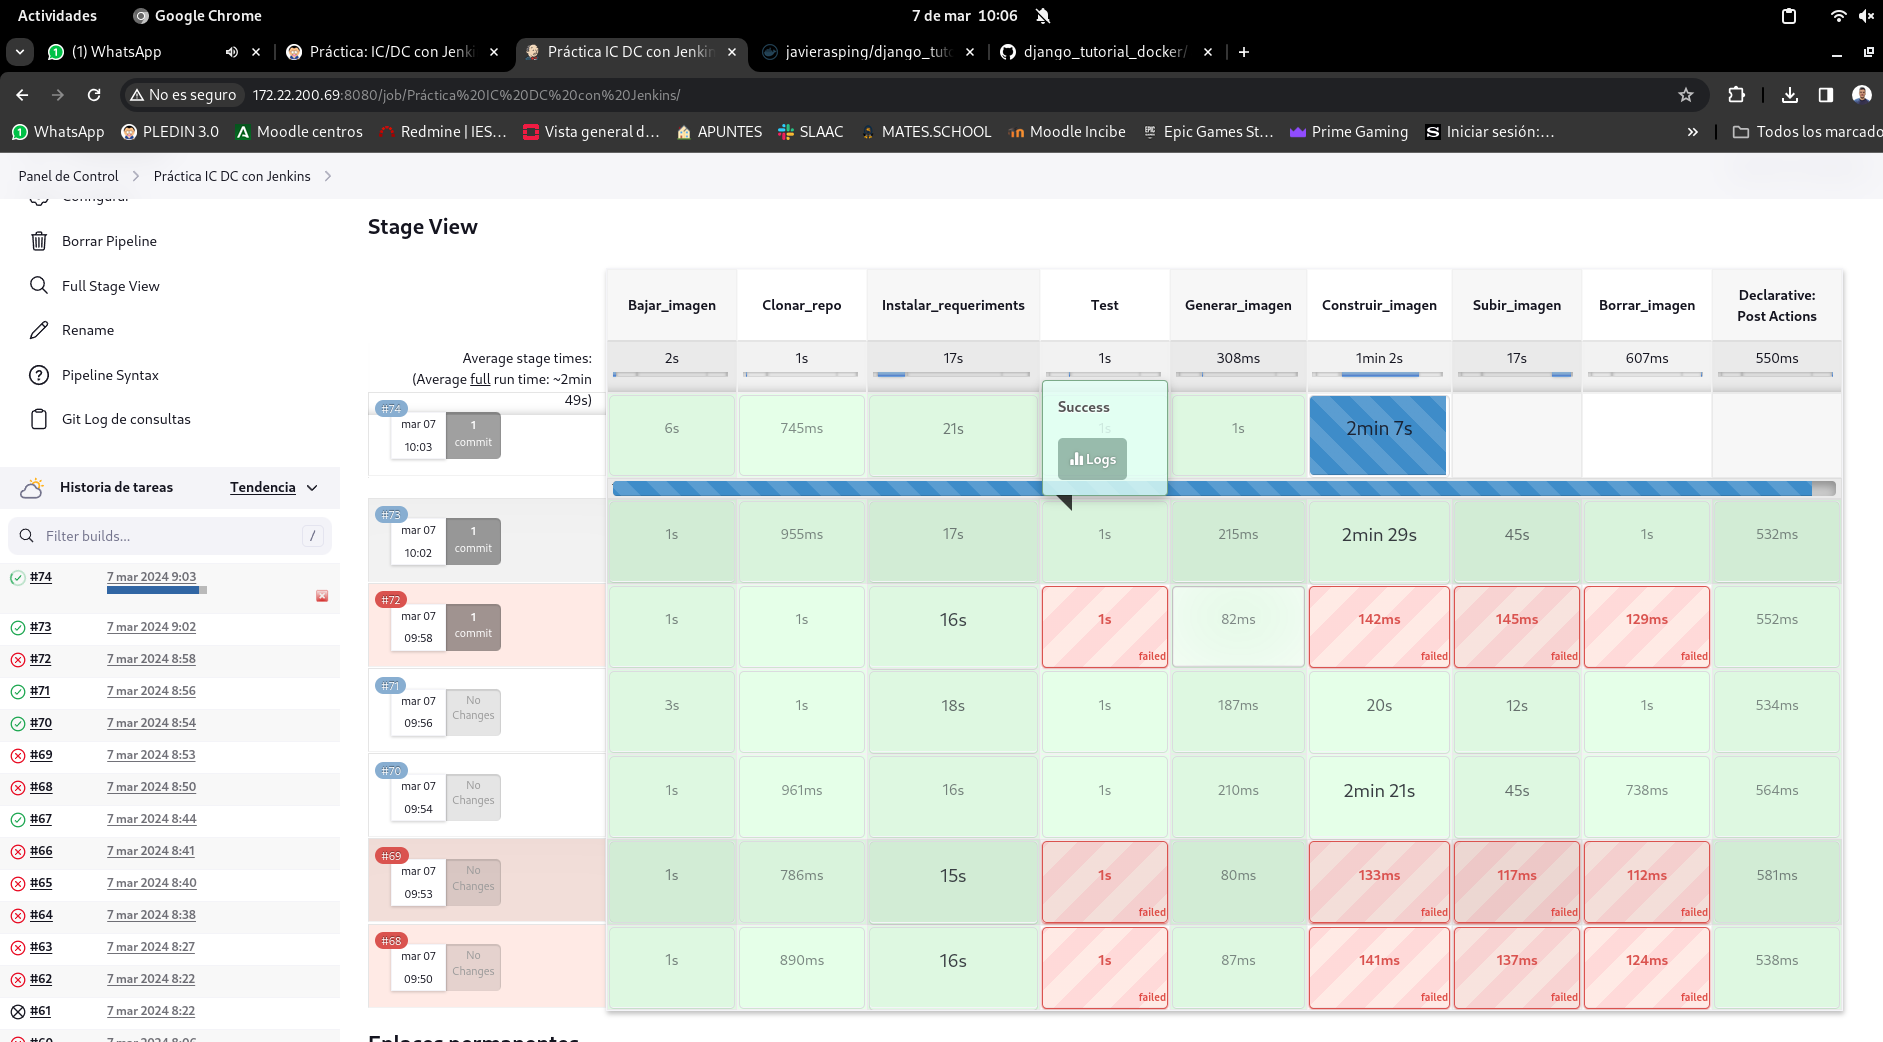
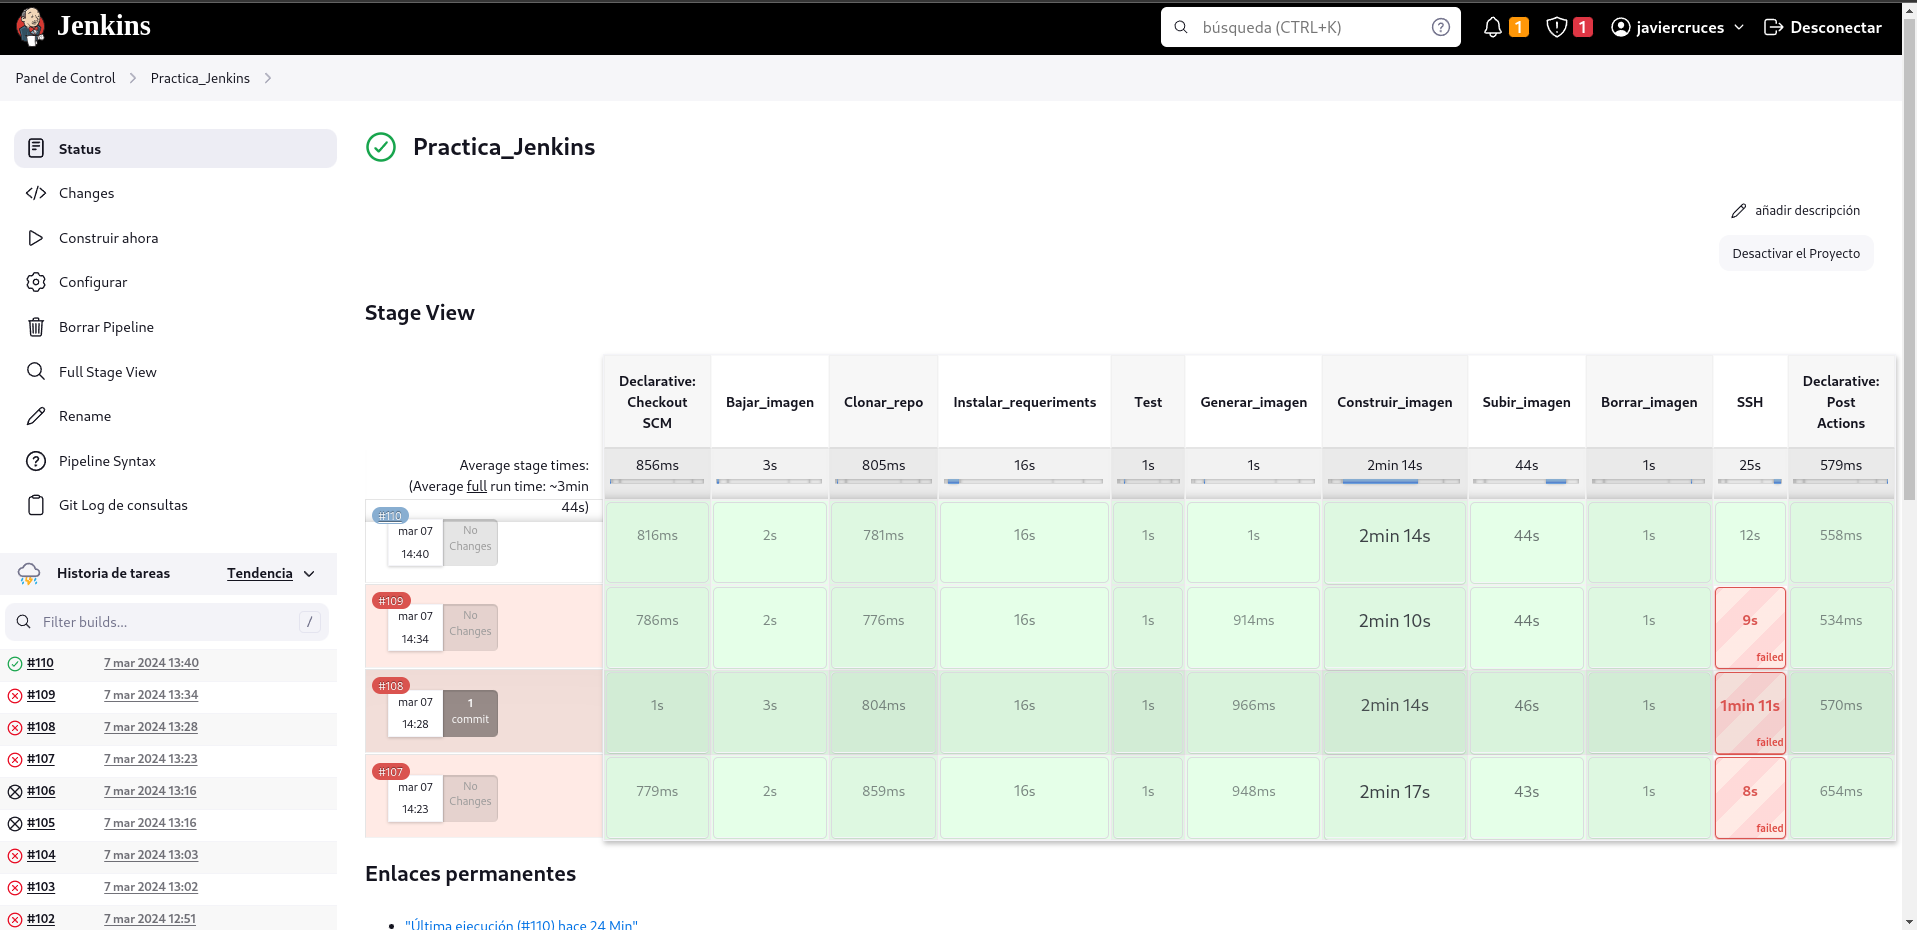
A screenshot where you see the output of a build that has been executed correctly.
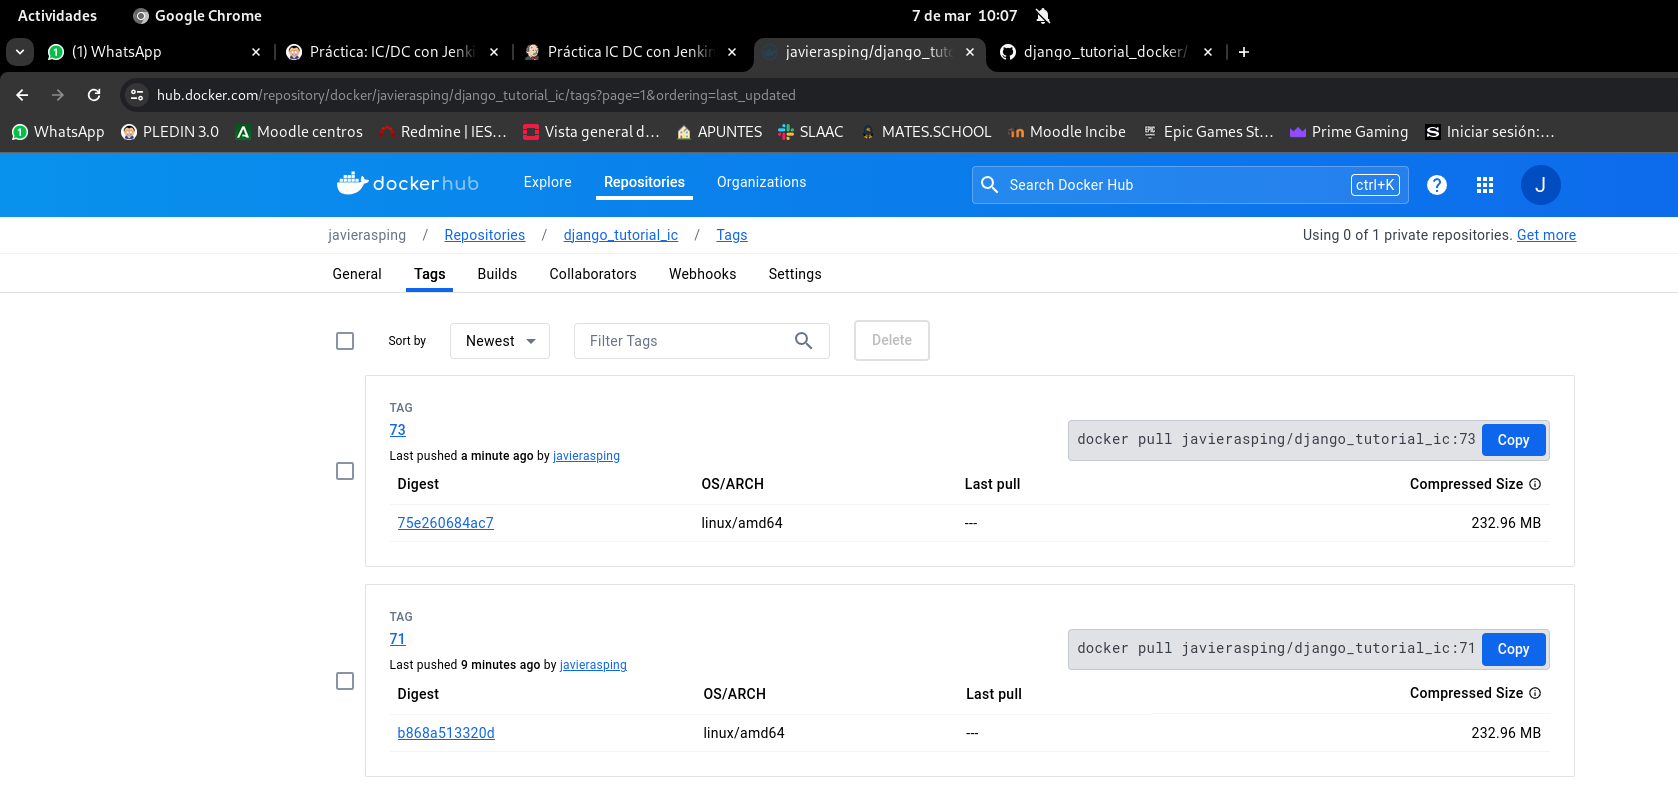
A screenshot of your Docker Hub account where you can see the latest pushed image.
Introduce a bug in the
Dockerfileand show the output of the build where the error occurs.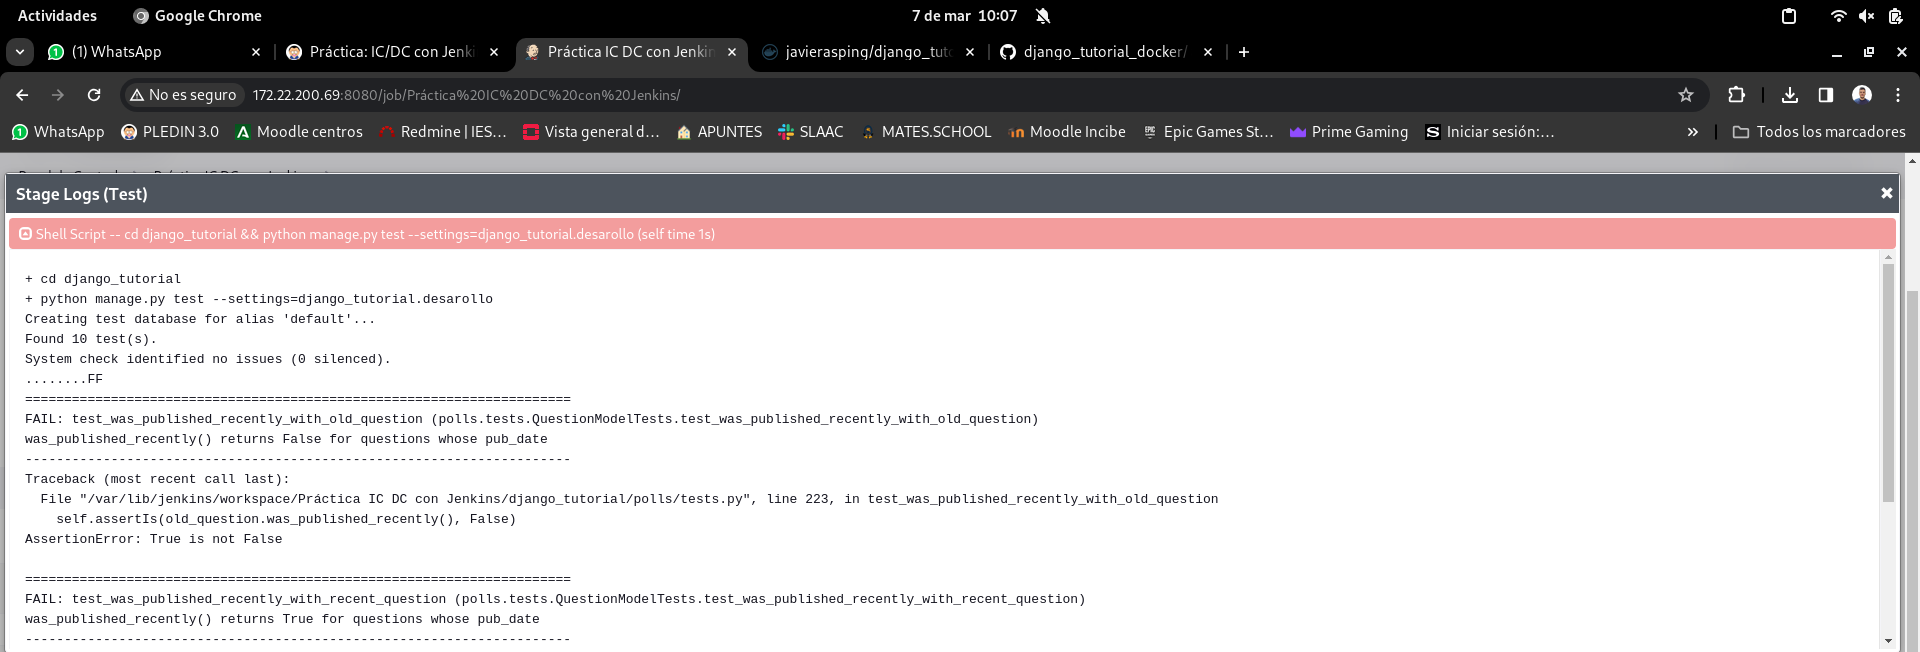
Deliver the repository URL to view the
Jenkinsfile:
https://github.com/javierasping/django_tutorial_docker.git
- Pants with the mail you received from the execution of the pipeline.
Exercise 2: Deployment of the application
Expand the previous pipeline to have a final stage where you can display the image that has been uploaded to Docker Hub in your production environment (VPS). Some leads:
- Find information on how to do the deployment to a remote server (ssh, looking for some plugin with that functionality,…).
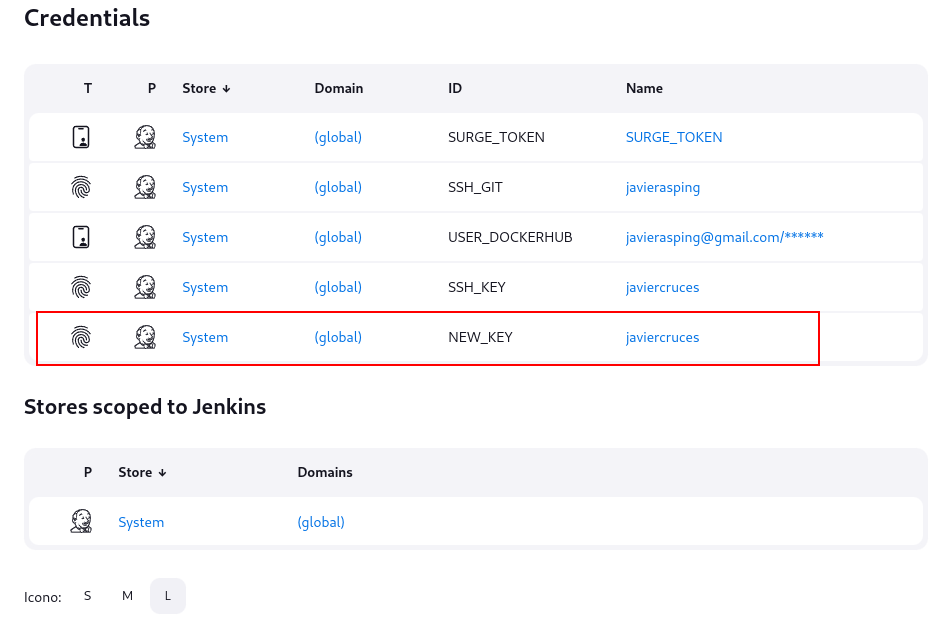
- If you are going to make ssh connections, you will have to save a credential on your Jenkins with the username and password.
- For deployment, you must use the
docker-compose.yamlfile you have generated in other practices. - The container must be deleted with the previous version, the new image must be downloaded, and a new container created.
Other considerations:
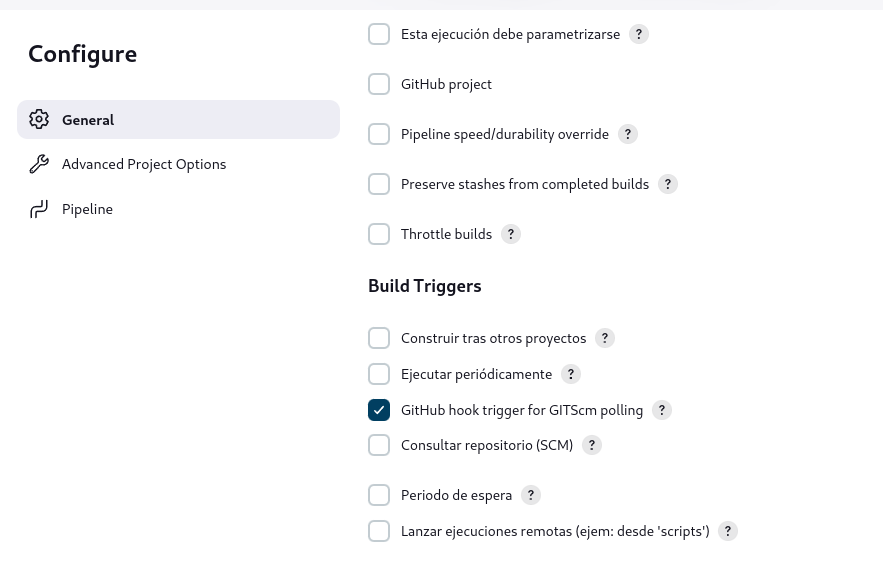
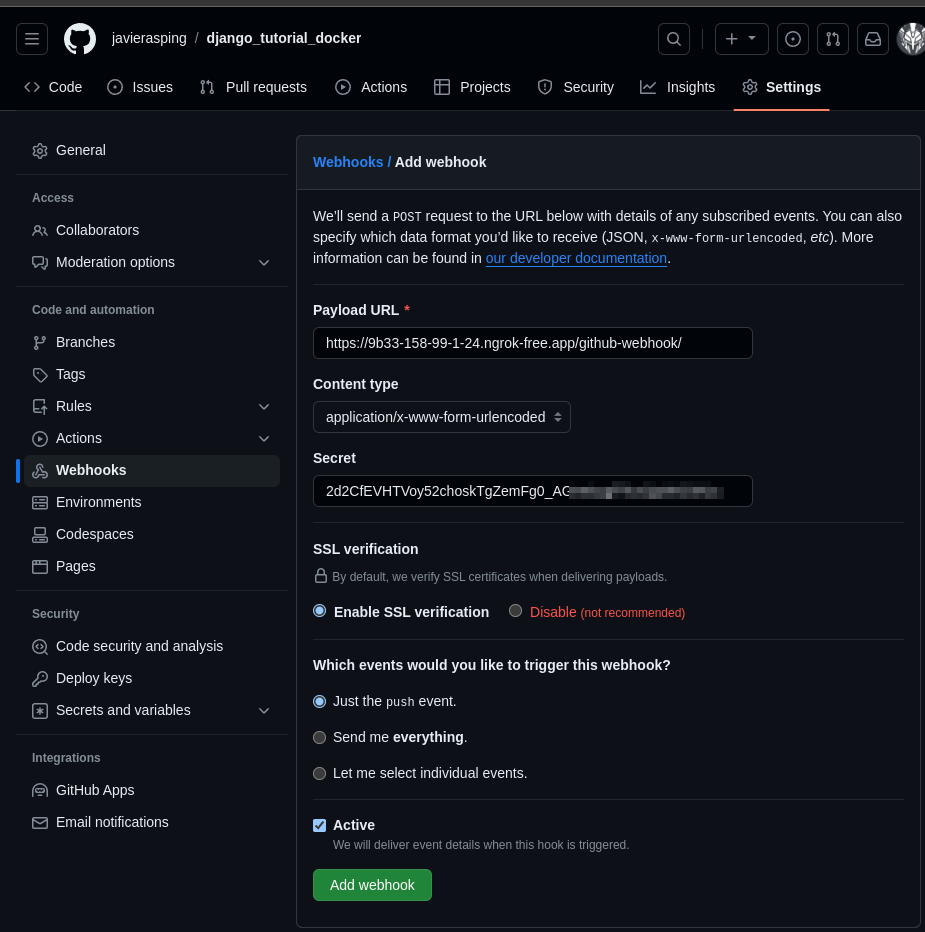
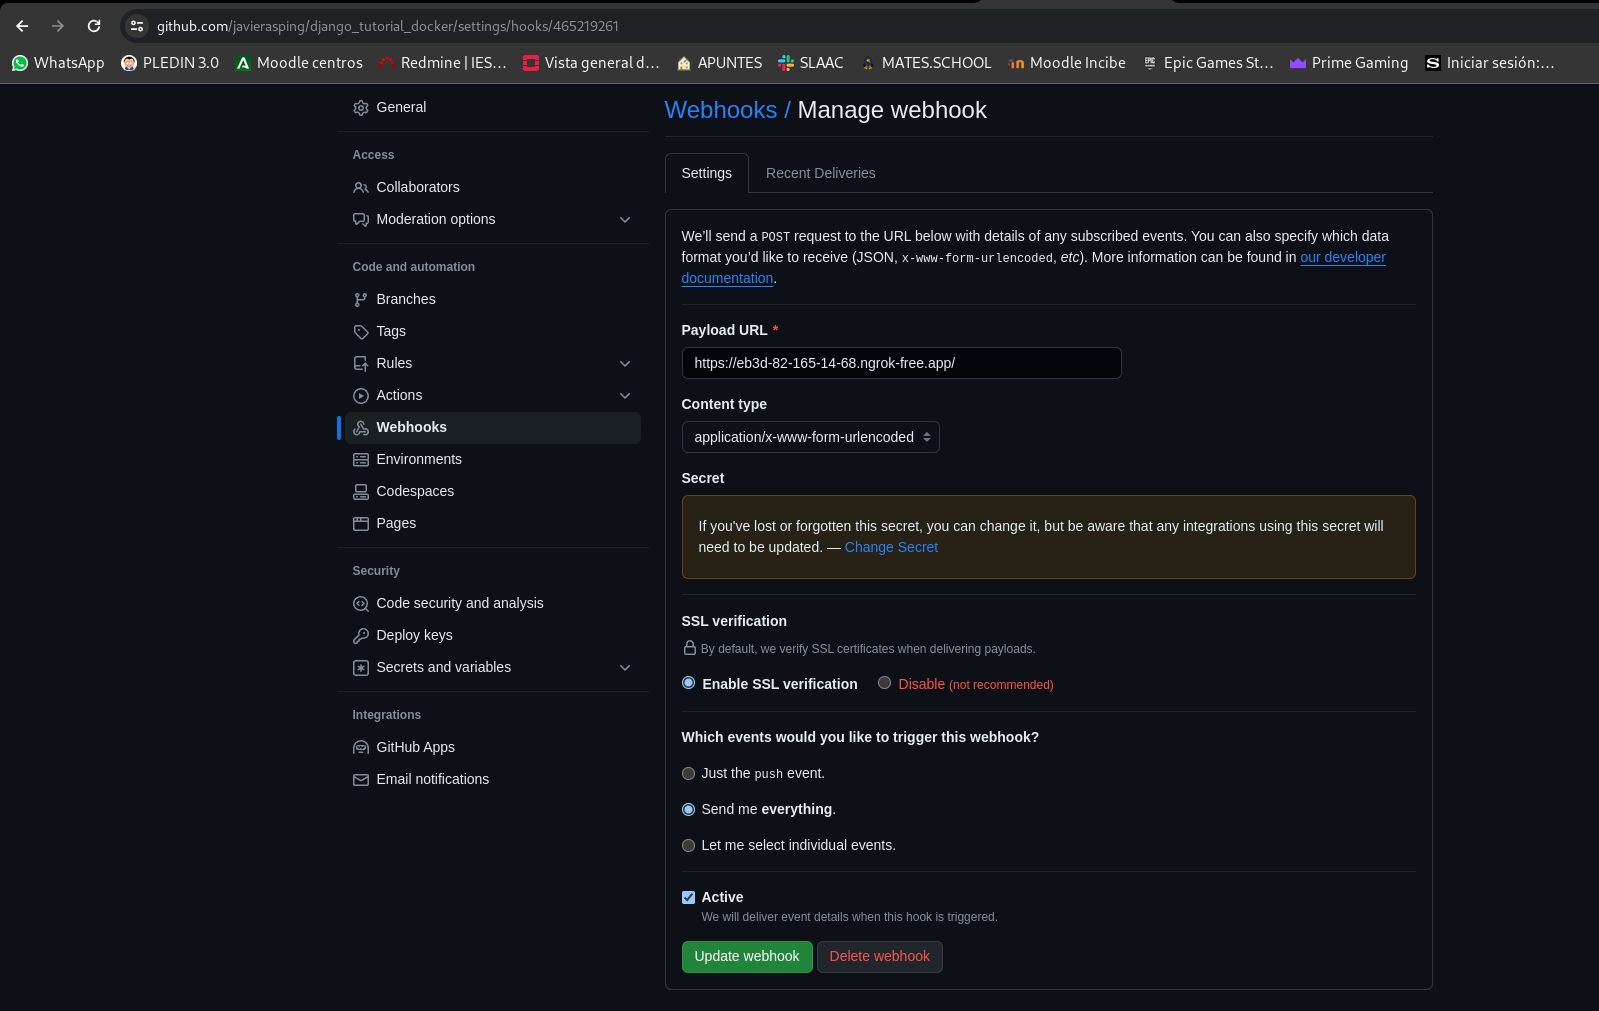
- Change the pipeline trigger. Configure it with a GitHub webhook so that every time a push is produced, the pipeline is run. For the webhook to access your Jenkins, you can use ngrok.
Delivery
- The content of the
Jenkinsfilefile. - The credentials you kept in Jenkins.
- Show the teacher how the complete CI/CD is done.
Normal execution of the pipeline:
The nginx configuration and the containers run:
javiercruces@atlas:~$ sudo cat /etc/nginx/sites-available/django_docker
server {
    listen 80;
    server_name djangodocker.javiercd.es;
    return 301 https://$host$request_uri;
}

server {
    listen 443 ssl;
    server_name djangodocker.javiercd.es;

    ssl_certificate /etc/letsencrypt/live/javiercd.es/fullchain.pem;
    ssl_certificate_key /etc/letsencrypt/live/javiercd.es/privkey.pem;

    location / {
        proxy_pass http://localhost:8082;
        proxy_set_header Host $host;
        proxy_set_header X-Real-IP $remote_addr;
        proxy_set_header X-Forwarded-For $proxy_add_x_forwarded_for;
        proxy_set_header X-Forwarded-Proto $scheme;
    }
}

javiercruces@atlas:~$ docker ps
CONTAINER ID   IMAGE                             COMMAND                  CREATED          STATUS          PORTS                                       NAMES
4d7947fc359f   javierasping/django_tutorial_ic   "/bin/sh -c 'python3…"   33 minutes ago   Up 33 minutes   0.0.0.0:8082->3000/tcp, :::8082->3000/tcp   django_tutorial_web
bdf947a4bccc   mariadb                           "docker-entrypoint.s…"   33 minutes ago   Up 33 minutes   3306/tcp                                    mariadb-django
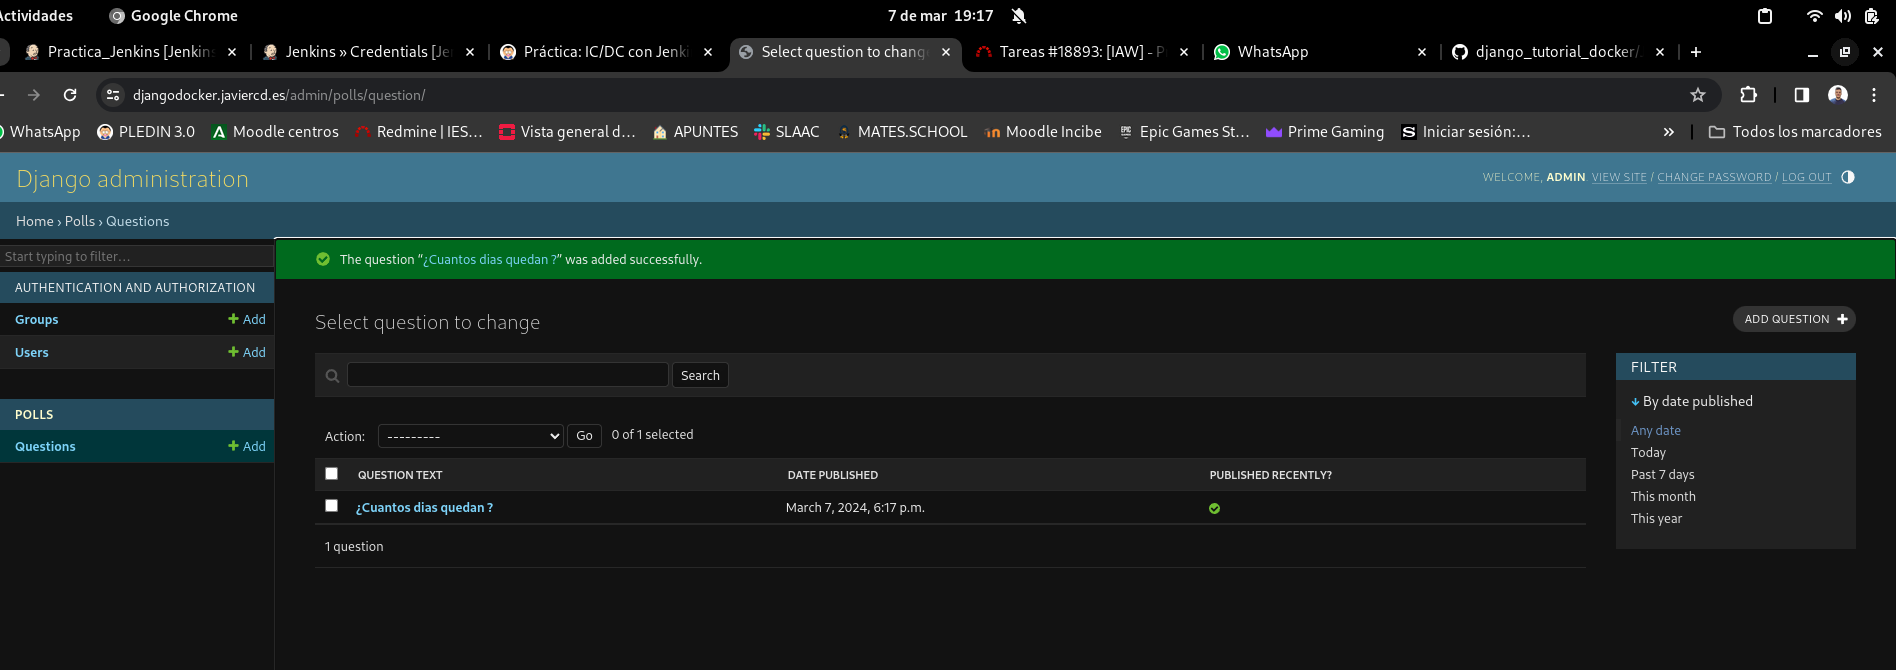
The application running in the VPS:
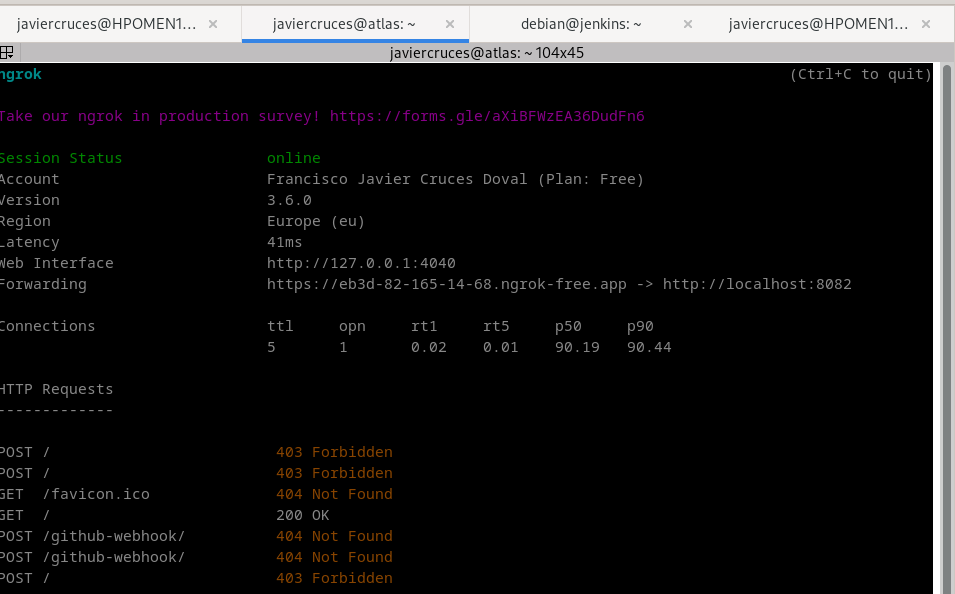
The Ngrok and Webhole settings
curl -s https://ngrok-agent.s3.amazonaws.com/ngrok.asc \
  | sudo tee /etc/apt/trusted.gpg.d/ngrok.asc >/dev/null && echo "deb https://ngrok-agent.s3.amazonaws.com buster main" \
  | sudo tee /etc/apt/sources.list.d/ngrok.list && sudo apt update && sudo apt install ngrok

javiercruces@atlas:~$ ngrok config add-authtoken 2d2CfE


debian@jenkins:~$ ngrok http http://localhost:8082
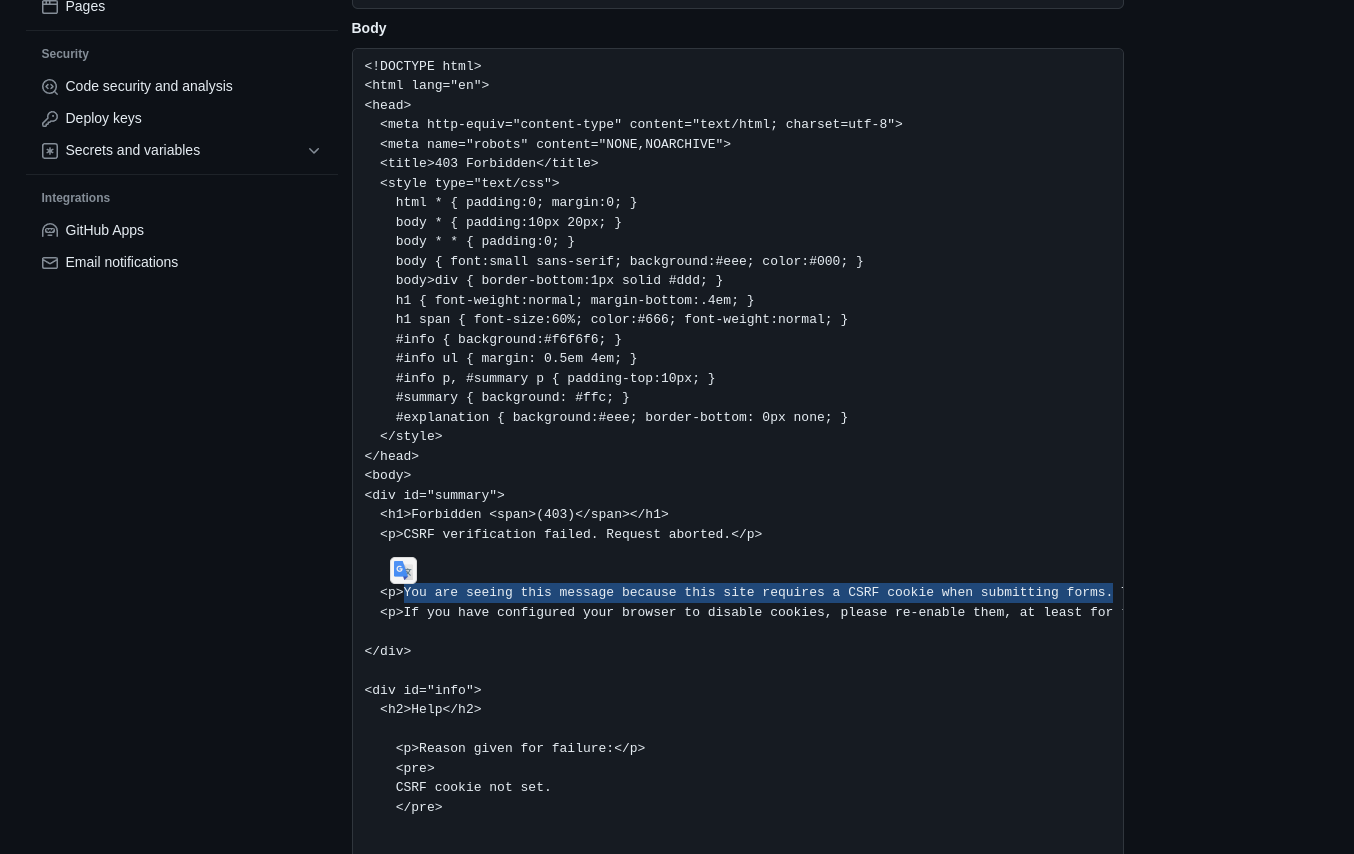
If we cause the failure: