
Francisco Javier Cruces Doval
Sunday, September 1, 2024 | 3 minutes
Oracle installation 19c under Debian 12
Installing Oracle 19c on Debian 12 may seem complicated, but don’t worry, I’m here to guide you through every step. In this post, I will explain in a simple way how to prepare your system and install Oracle 19c on Debian 12.
Update the repositories
The first step is to update the repositories of our virtual machine and update any missing packages:

Install dependencies
Next, we will install the Oracle dependencies on our system:

- libaio1 * *: Provides asynchronous access to I/O.
- Unixodbc * *: It is an ODBC driver for database connectivity.
- Bc * *: It is an arbitrary precision calculator.
- Ksh * *: It is the Korn shell for scripts.
- Gawk * *: It is an improved version of Awk for text and data processing.
Add oracle user
We will create the dba group and the oracle user:

Check that you can access the oracle user:

Network configuration
A static IP must be set up:

We also need an entry for our private address in the hosts file:

Download the Oracle website installation file
Once we have verified that we can install it on our system or virtual machine, we will download it from the official website.
We will quickly realize that Oracle does not support Debian, as the package is in .rpm format. This means it is designed for Red Hat-based distributions.
To use this package, we must convert it to .deb. For this, there is a tool called ‘alien’ that will convert the package for us.
Install the tool:

Now, using wget, we will download the Oracle meta-package:

Once downloaded, we will use the alien utility to transform it. This will take some time, to speed up the process, I have transformed it on my physical machine:

We transferred it to our virtual machine using scp.
Now that the package has been converted to .deb, we install it using dpkg on our virtual machine:
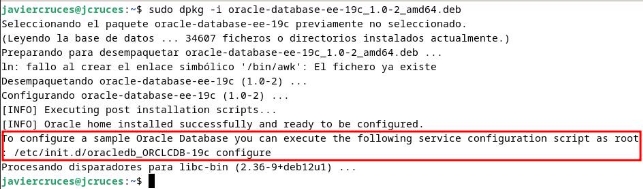
Start the installation, it will take a while, so please be patient:
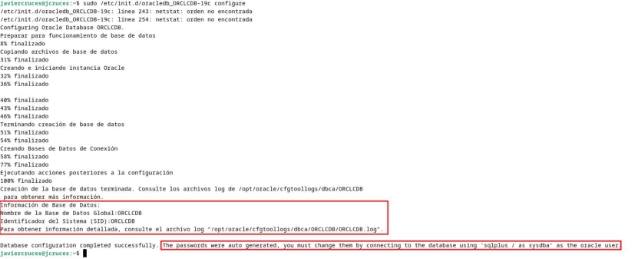
Once finished, we will add the Oracle environment variables to our user’s .bashrc. The ORACLE_SID will be provided at the end of the installation, the others will depend on the directories used in the previous steps:

Troubleshooting
Error [FATAL] [DBT-50000] Unable to check available memory

An error occurs stating that it cannot check the available memory. This error can be solved by disabling the configuration parameter check on line 164 of the /etc/init.d/oracledb_ORCLCDB-19c file:

Change it to the following (complete line 164):
* I have highlighted the content you should add, you can also replace the entire line.
Another error that may occur is that netstat cannot be found:

This is easily solved by installing net-tools.

ORA-65096: invalid username or common role
If you are unable to create a user:

This modification allows us to create users:
First steps with Oracle
Connect as an administrator to the database:
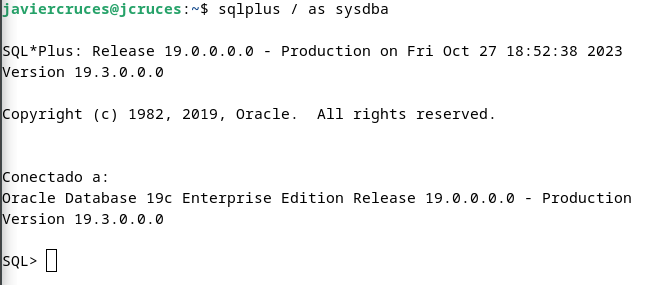
The first step is to create a user, grant the necessary permissions, and verify the connection:

Then, grant the necessary permissions:

Then, try to connect with the user:

This completes the basic installation of Oracle 19c on Debian 12. It is recommended to use a client such as SQL*Plus or SQL Developer to interact with the database.
SQL*Plus Installation
Download the basic SQL*Plus package for Linux (it is a .zip file):
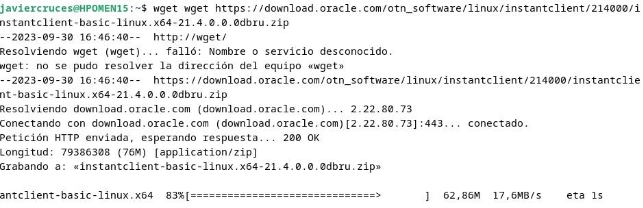
Download the second SQL*Plus package:
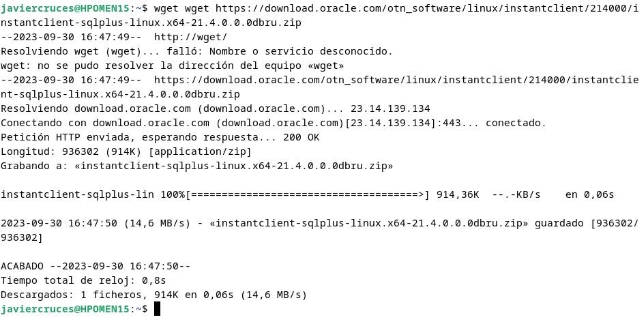
Create the /opt/oracle directory:

Uncompress the zip files into the directory we just created:


Enter the directory and list its contents:
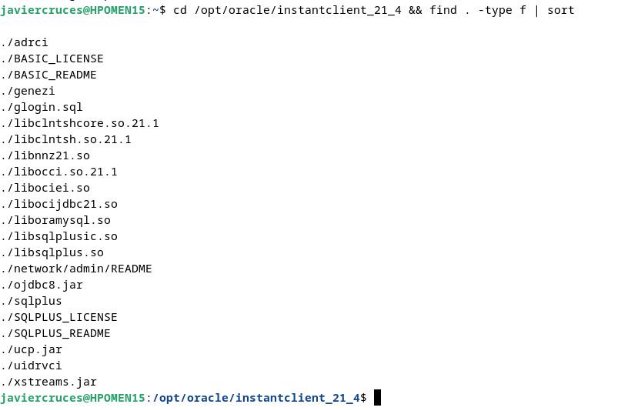
Then, export the SQL*Plus binary variable and apply the changes:

To make this permanent, add it to the .bashrc file:
